5 Steps to Ceramic Coat Your RV: Unlock Lasting Benefits

Embarking on an RV adventure is thrilling, but maintaining that pristine look can be a challenge. A ceramic coating offers a durable shield against the elements, and with these five steps, you can ensure your RV not only turns heads on the highway but also withstands the test of time and travel.
Step 1: Choose the Right Product

Selecting the appropriate ceramic coating for your RV is paramount. You’ll find lots of options, ranging from consumer-grade products to professional-level formulas. For the do-it-yourself enthusiast, look for a coating that promises ease of application and longevity. Be wary of budget options that may not provide the nano-technology benefits that premium coatings offer, such as enhanced UV protection and water beading.
Step 2: Thoroughly Clean the RV
Before you even think of applying a ceramic coating, your RV needs to be immaculate. This means undertaking a rigorous wash to remove any dirt, grime, and road contaminants. Use a high-quality soap designed for automotive use and consider a clay bar treatment to tackle any embedded impurities. A spotless surface ensures that the ceramic coating will adhere properly and perform at its best.
Step 3: Correct Paint Imperfections

Inspect the surface for any scratches, swirls, or oxidation. If you find imperfections, now is the time for paint correction. This can be achieved through polishing or, in more severe cases, wet sanding.
Remember, the goal is to create the smoothest possible surface. If you’re not confident in your paint correction skills, it might be worth seeking professional help – it’s a critical step for a flawless finish.
Step 4: Prep the Surface for Coating
After addressing any paint issues, you’ll need to prep the surface for the ceramic coating. This usually involves using an isopropyl alcohol (IPA) solution to remove any oils or residues left from the cleaning and correction processes.
This step is crucial as it ensures a clean canvas for the ceramic coating to bond with, maximizing its durability and effectiveness.
Step 5: Applying the Ceramic Coating
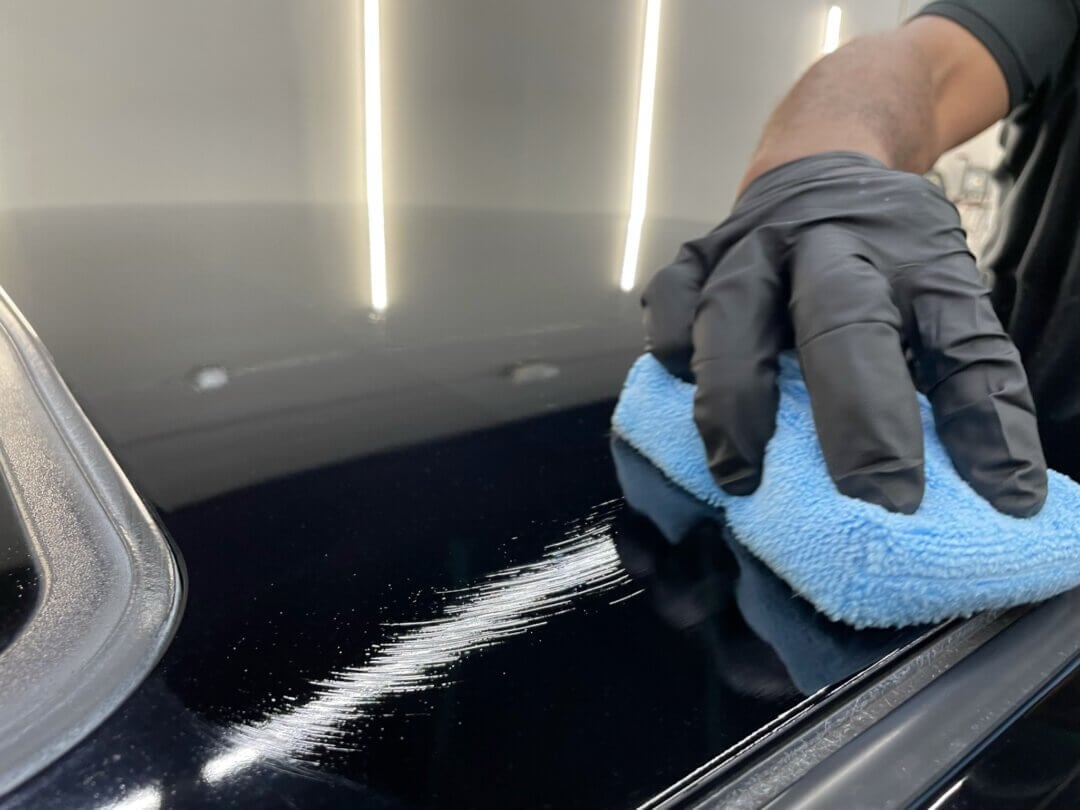
Application is a delicate process – you’ll want to work in a shaded area, away from direct sunlight. Apply the product onto the applicator pad provided, and use overlapping strokes to ensure an even layer.
Work in small sections, removing excess product with a microfiber cloth as you go. It’s a time-consuming process, but patience here pays off with a protective gloss that is second to none.
Curing Process: What to Expect
The curing process is where the magic happens, transforming the liquid coating into a hardened, protective shell. It generally takes about 24 to 48 hours for the initial cure, during which your RV should remain dry and out of the elements.
Full curing can take up to a week, depending on the product and environment. During this time, the coating’s properties will fully develop, providing maximum protection.
Maintenance Tips for Coated RVs
Once coated, your RV will be easier to clean and maintain. Regular washes with a pH-neutral soap will keep it looking fresh without damaging the ceramic layer. Avoid abrasive tools or harsh chemicals.
For extra precaution, apply a ceramic boost spray every few months to rejuvenate the coating’s hydrophobic properties, ensuring continued protection and shine.
Long-Term Benefits of Ceramic Coating
Ceramic coating your RV is an investment in its longevity and aesthetics. The nano-coating technology provides a barrier against UV rays, chemical stains, and even minor scratches. Over time, you’ll notice less fading, oxidization, and wear on your RV’s exterior. Plus, the ease of cleaning and enhanced gloss will save you time and effort, making every road trip as enjoyable as the last.
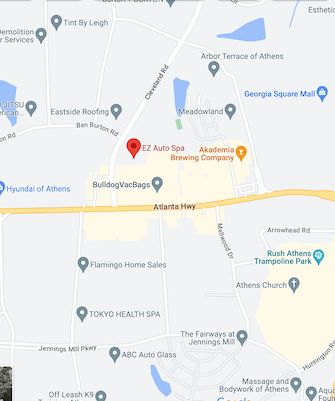
Serving Atlanta + Athens
EZ Auto Spa has two locations conveniently located to serve the Metro Atlanta & Metro Athens area. We serve a wide geographic area and can work with your schedule to make your service happen.
Open Weekdays from
8:30-5:00
Call to ask any question
706-971-7867
EZ Auto Spa Duluth
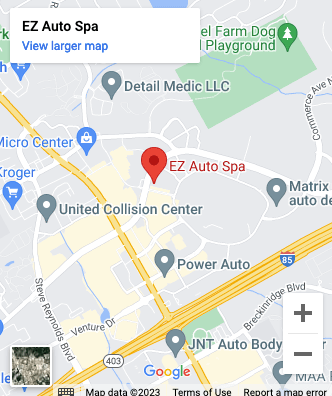
3492 Satellite Blvd #120 Duluth, GA 30096

